html canvas + ts 로 유성효과 만들기 (canvas animation - 2편)
이번에는 눈효과에 이어 유성효과이다. 유성효과는
https://blog.fxjodo.com/blog/295/
이 눈효과에서 조금만 바꾸면 된다.
1. 유성처럼 보이려면 일단 유성에는 꼬리가 있다.

2. 유성 대가리가 꼬리보다 밝다. (꼬리로 갈수록 서서히 색이 옅어지는 구조)
3. 안보이면 다시 재활용한다 (안보이면 -> init function 실행하여 새로나오는것처럼 구현, 음.. 약간 구현사항이 다르긴 한데 약간 게임개발시에 object pool처럼 instance를 재활용함으로써 비용을 아끼도록 구현)
자 이제 ㄱㄱ하기전에 데모부터 보자
데모
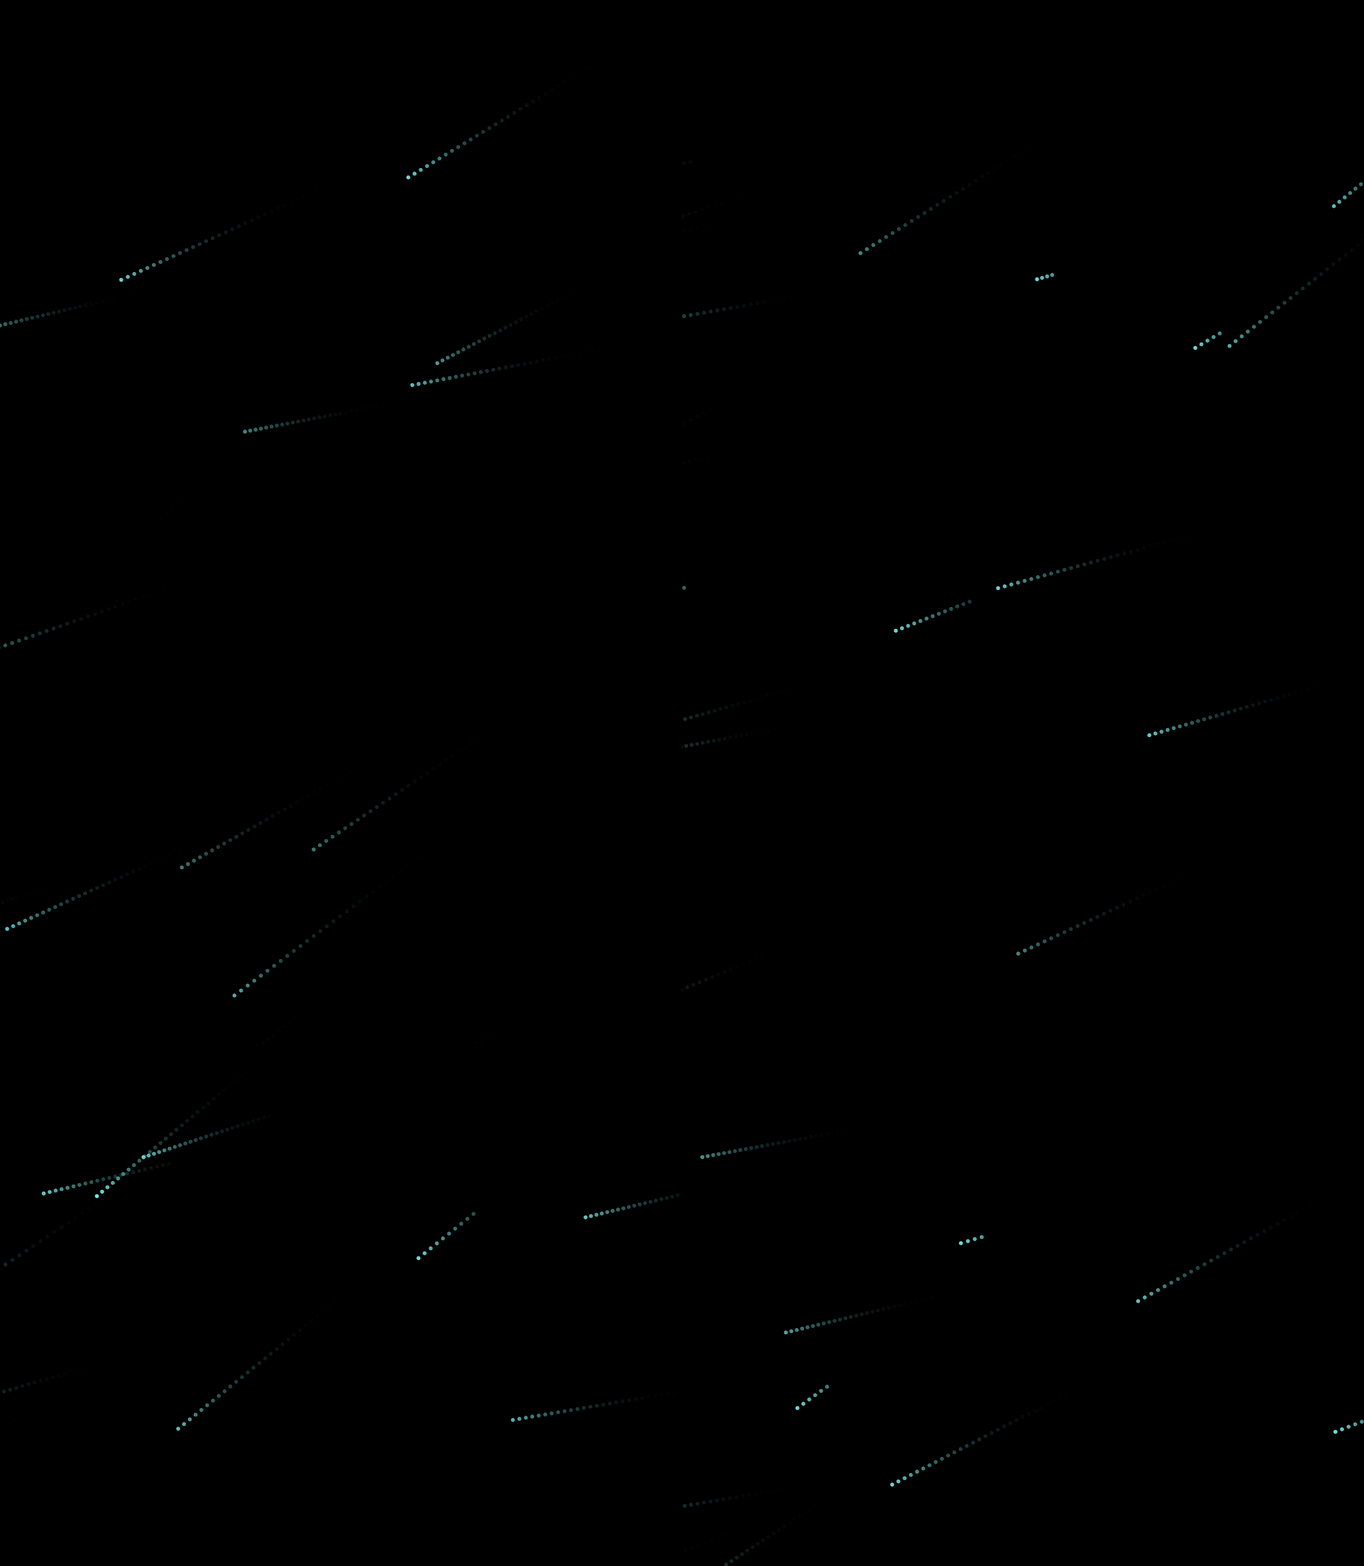
음.. 저 gif로 봐서 좀 유성같이 안보이는데, 실제 60프레임에서의 웹사이트에서는 꽤나 유성처럼 보인다.
구조
구조는 눈 구현에서의 구조와 거의 동일하다. 거의 x, y의 스피드와 color 그리고 canvas의 덮어쓰는 도형의 opacity 정도만 다르다.
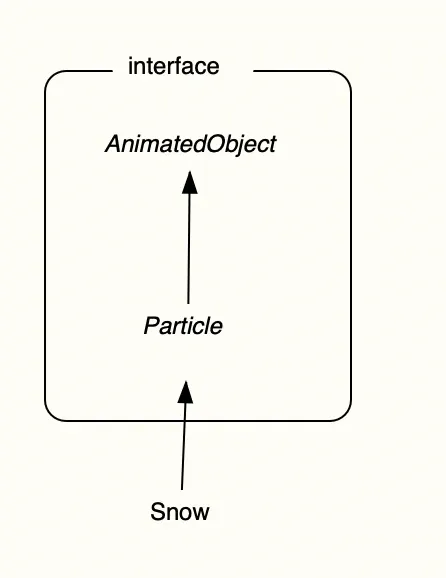
IntroApp class로 dependency injection 하는것도 동일하다 (snow에서 meteor class의 인스턴스를 넣는것만 다르다.)
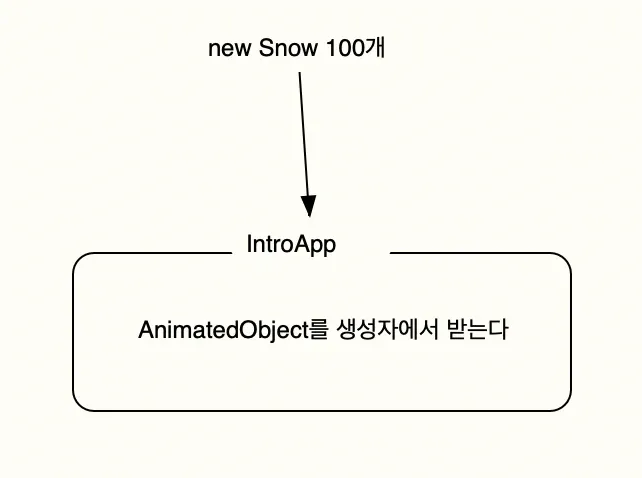
전체코드
interface (snow 게시물과 동일)
/**
 * @description animated object interface
 */
export interface AnimatedObject {
  init(stageWidth: number, stageHeight: number): void;
  update(): void;
  draw(ctx: CanvasRenderingContext2D): void;
}

/**
 * @description particle interface
 */
export interface Particle extends AnimatedObject {
  x: number;
  y: number;
  radius: number;
  speedX: number;
  speedY: number;
  stageWidth: number;
  stageHeight: number;
}
meteor class
import { getRandomArbitrary } from '@/utils';
import { Particle } from '@/src/intro/particles/particles.interface';

/**
 * @description 유성 class
 */
export class Meteor implements Particle {
  x!: number;
  y!: number;
  radius!: number;
  speedX!: number;
  speedY!: number;
  opacity!: number;
  opacityMinus!: number;
  pixelRatio!: number;
  stageWidth!: number;
  stageHeight!: number;

  constructor(stageWidth: number, stageHeight: number) {
    this.init(stageWidth, stageHeight);
  }

  init(stageWidth: number, stageHeight: number): void {
    this.x = getRandomArbitrary(0, stageWidth);
    this.y = getRandomArbitrary(0, stageHeight / 3);
    this.radius = 2;
    this.speedX = getRandomArbitrary(-7, -5);
    this.speedY = getRandomArbitrary(1, 5);
    this.opacity = getRandomArbitrary(0.8, 1);
    this.opacityMinus = getRandomArbitrary(0.001, 0.005);
    this.pixelRatio = window.devicePixelRatio > 1 ? 2 : 1;
    this.stageWidth = stageWidth;
    this.stageHeight = stageHeight;
  }

  update(): void {
    this.x += this.speedX;
    this.y += this.speedY;
    this.opacity -= this.opacityMinus;
  }

  draw(ctx: CanvasRenderingContext2D): void {
    //비가 화면 밖으로 나가던가 opacity 가 0 이하면 다시 init 해줘야함
    if (this.isDead()) {
      //ratio 에 따라 다르게 넣어주었기 때문에.. 이렇게 해야함
      this.init(
        ctx.canvas.width / this.pixelRatio,
        ctx.canvas.height / this.pixelRatio,
      );
    }

    this.update();
    ctx.beginPath();
    ctx.arc(this.x, this.y, this.radius, 0, Math.PI * 2, false);
    ctx.fillStyle = `rgba(100, 255, 255, ${this.opacity})`;
    ctx.fill();
    ctx.closePath();
  }

  //보이지 않거나 시야에서 벗어나면 true
  isDead(): boolean {
    return (
      this.x < 0 ||
      this.x > this.stageWidth ||
      this.y < 0 ||
      this.y > this.stageHeight ||
      this.opacity <= 0
    );
  }
}
IntroApp class
import '@/styles/globals.css';
import '@/styles/intro.css';
import { Snow } from '@/src/intro/particles/Snow';
import { Meteor } from '@/src/intro/particles/Meteor';
import { AnimatedObject } from '@/src/intro/particles/particles.interface';
import { GradationBall } from '@/src/intro/particles/GradationBall';

/**
 * TODO: canvas 를 여러개로 두는 형태로 하자
 * canvas 마다 크게보기 기능을 넣고 크게 볼때 animation 이 동작하게 하자
 */
class IntroApp {
  canvas: HTMLCanvasElement;
  ctx: CanvasRenderingContext2D;
  stageWidth: number;
  stageHeight: number;
  pixelRatio: number;
  animatedObjects: AnimatedObject[] = [];

  constructor(animatedObjects: AnimatedObject[] = []) {
    //init
    this.canvas = document.createElement('canvas');
    document.body.appendChild(this.canvas);
    this.ctx = this.canvas.getContext('2d')!;
    this.stageWidth = document.body.clientWidth;
    this.stageHeight = document.body.clientHeight;
    this.pixelRatio = window.devicePixelRatio > 1 ? 2 : 1;
    this.animatedObjects = animatedObjects;

    //resize 한번 호출
    this.resize();

    //event
    window.addEventListener('resize', this.resize.bind(this));
    window.requestAnimationFrame(this.animate.bind(this));
  }

  //화면 resize 시마다 호출되는 함수, canvas 재계산
  resize() {
    this.stageWidth = document.body.clientWidth;
    this.stageHeight = document.body.clientHeight;
    this.canvas.width = this.stageWidth * this.pixelRatio;
    this.canvas.height = this.stageHeight * this.pixelRatio;
    this.ctx.scale(this.pixelRatio, this.pixelRatio);

    //resize 되었으므로 object init 해줘야함
    this.animatedObjects.forEach((animatedObject) => {
      animatedObject.init(this.stageWidth, this.stageHeight);
    });
  }

  animate() {
    // this.ctx.clearRect(0, 0, this.stageWidth, this.stageHeight);
    //!!! 여기서 덮어쓰는 rect의 opacity가 달라짐!!
    this.ctx.fillStyle = 'rgba(0, 0, 0, 0.1)';
    this.ctx.fillRect(0, 0, this.stageWidth, this.stageHeight);

    //animate object draw
    this.animatedObjects.forEach((animatedObject) => {
      animatedObject.draw(this.ctx);
    });

    window.requestAnimationFrame(this.animate.bind(this));
  }
}

window.onload = () => {
  console.log('window onload');

  const meteors = [];
  for (let i = 0; i < 10; i++) {
    meteors.push(new Meteor(0, 0));
  }

  new IntroApp([...meteors]);
};
particle animation에 대한 전체적인 interface 설계를 좀 해놨더니 비슷한걸 만들때는 참으로 편하구먼
이 글을 읽고 만약에 canvas animation에 관심이 많이 생긴다면, 이 유튜버를 보면 많은 도움이 될것이다.
(필자도 처음 개발시작할때 이 유튜버의 영상을 보고 프론트 개발에 관심을 가지게 되었다! 실무에 쓸일은.. 많이없지만, 그래도 재밌으니까ㅎㅎ)
https://www.youtube.com/@cmiscm/videos